


The Art of Making Palm Wax Candles: A Step-by-Step Guide
Hello, candle enthusiasts! Today, we're diving into the wonderfully world of palm wax candles. If you're anything like me, the charm of a gently flickering candle, emitting a warm, inviting glow, is simply irresistible. And what's more satisfying than creating that ambiance with your own two hands? So, let's get our hands a little waxy as I walk you through the process of making palm wax candles, step by step. Whether you're a seasoned candle maker or a curious newbie, I hope this article will help you on your journey.
Gathering Your Supplies
First things first, let's talk about what you'll need.
- Palm wax (obviously)
- Fragrance oils of your choice
- Wicks (I prefer wooden wicks for palm wax, but CDNs or RRD wicks also work very well)
- Popsicle sticks or pencils to center regular wicks
- Containers (glass jars work best to show off that beautiful palm wax)
- A double boiler or presto pot
- a metal pitcher or glass pyrex container
- A thermometer
- Candle dye (dye chips work very well for small batches)
And some patience (trust me, it's worth it)
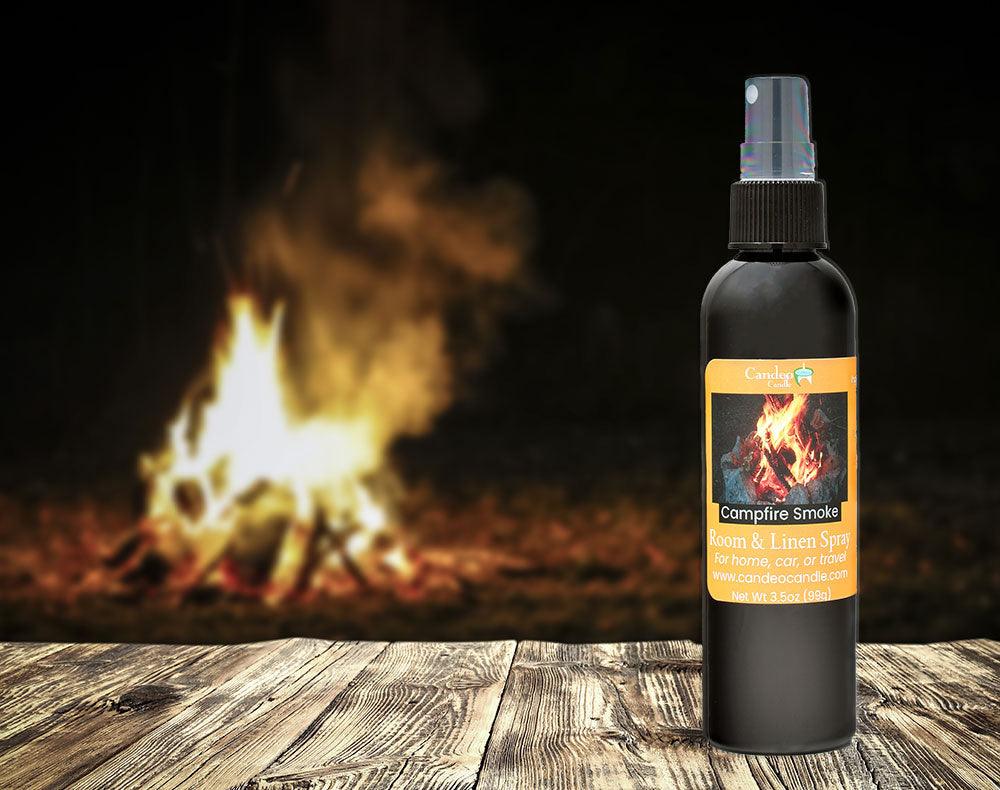
I always suggest picking fragrances that speak to you. Maybe it's the smell of rain on a summer afternoon or that cozy campfire smoke. You can check out our amazing selection of fragrances over at candeocandlesupply.com to get you started!
Melting the Wax
Now, onto the melting. Palm wax needs a bit of a higher temperature to melt properly, it's melt point is around 145 degrees Fahrenheit but it needs to be heated to a much higher temperature (195-200F) to properly bond with the fragrance oil you'll be adding, and to get those lovely crystals to form. I use a wax melter for this part which controls the temperature by thermostat, but for small batches I would recommend either a double boiler, or a presto pot. A double boiler will require the use of a thermometer to watch the temperature, while a presto pot will allow you to set the temperature of the pot to approximately 200F using the built in thermostat. Set up your heating method and pour in your wax.
Preparing the Wicks
While your wax is melting, it's time to prep your wicks. If you're using wooden wicks, give them a little trim to fit your jars. Affixing the wick to the bottom of the jar can be a bit of a sticky situation, literally. I use high temp hot glue to hole my wicks in place, but glue dots or a hot glue gun work wonders too. Just make sure it's centered unless you fancy a lopsided flame (a unique choice, admittedly).
Adding Fragrance and Color
Once your wax is melted, it's the perfect time to add your fragrance. The rule of thumb is about 1 ounce of fragrance per pound of wax, and this is a great starting point. Add your fragrance and stir, stir, stir.
For color, let your creativity shine! Palm wax is great for holding dye, so whether you're going for a serene blue or a fiery red, just a few drops of dye will do the trick. Stir well to make sure your color and fragrance are evenly distributed.
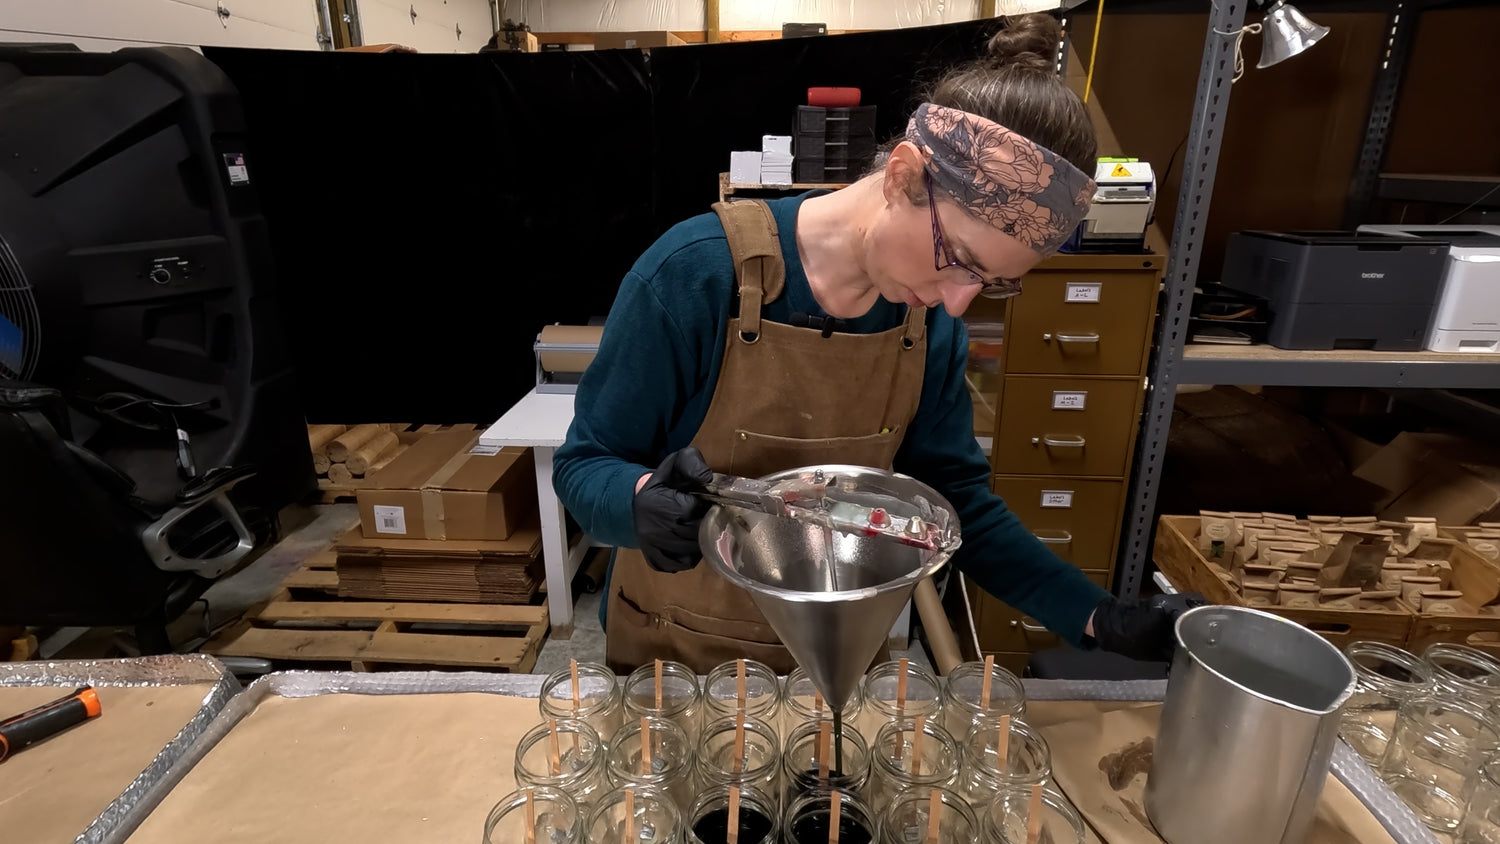
Pouring the Wax
Here comes the fun part – pouring the wax into your containers. Do it slowly and steadily to avoid air bubbles. Fill the jars to just below the rim, leaving a bit of space to allow for a 2nd pour. Use a pencil or popsicle stick to wrap the wick around and center if using regular wicks. Allow your candles to cool for several hours before poking relief holes and doing a second pour to the top of your jar. This will fill in any air holes and ensure your candle is nice and solid.
Cooling and Setting
Now, we wait. Let your candles cool at room temperature for at least 24 hours. This part tests your patience but think of it as a good practice for mindfulness, or just a great excuse to catch up on your favorite show.
Finishing Touches
Once completely cooled, trim the wick to about a quarter inch above the wax. This is crucial for a clean burn. And voilà, you've made your very own palm wax candle!
A Few Parting Words
Candle making, like life, is all about enjoying the process. Sure, there might be a few hiccups along the way (did I ever tell you about the time I left the spigot open on my 150lb melter and refilled it to melt overnight...), but that's all part of the charm. So light up your creation, bask in its glow, and pat yourself on the back. You've just brought a bit more light into the world.
Remember, candle making is not just a craft; it's a way to shine and glow. Until next time, keep those flames burning bright and never hesitate to reach out with your burning (pun intended) questions or share your candle-making adventures. Happy crafting!


Leave a comment
This site is protected by reCAPTCHA and the Google Privacy Policy and Terms of Service apply.